How to Register Your Business on Stripe


Are you not sure how to register your business on stripe to earn money? Are you confused about what type of business to choose during the setup process? In this guide, you will learn how to register your business on Stripe with the help of Subscribie.
To experience all our latest Stripe features of creating your own subscription or membership, consider creating your own shop for your customers with the help of Subscribie!
Step 1: To register your business, first off, create an account on Subscribie (Learn how to here) then go to your shop dashboard on Subscribie.

Step 2: Under Checklist, click "Review Stripe"

Step 3: On this page, click "Setup payouts on Stripe".

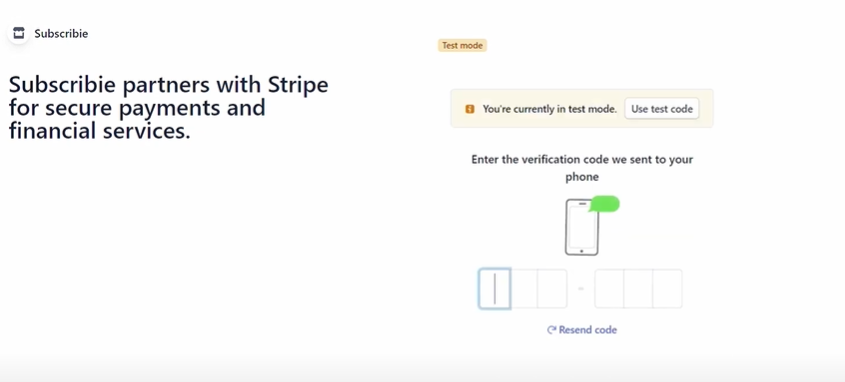
Step 4: Next, fill out your mobile number and email then click continue.

Step 5: After that, enter the six-digit verification code sent to your mobile number.
Step 6: The next step is to select your Type of Business from the drop-down box, then click continue.
If you are an individual, chose "Individual/Sole Trader"
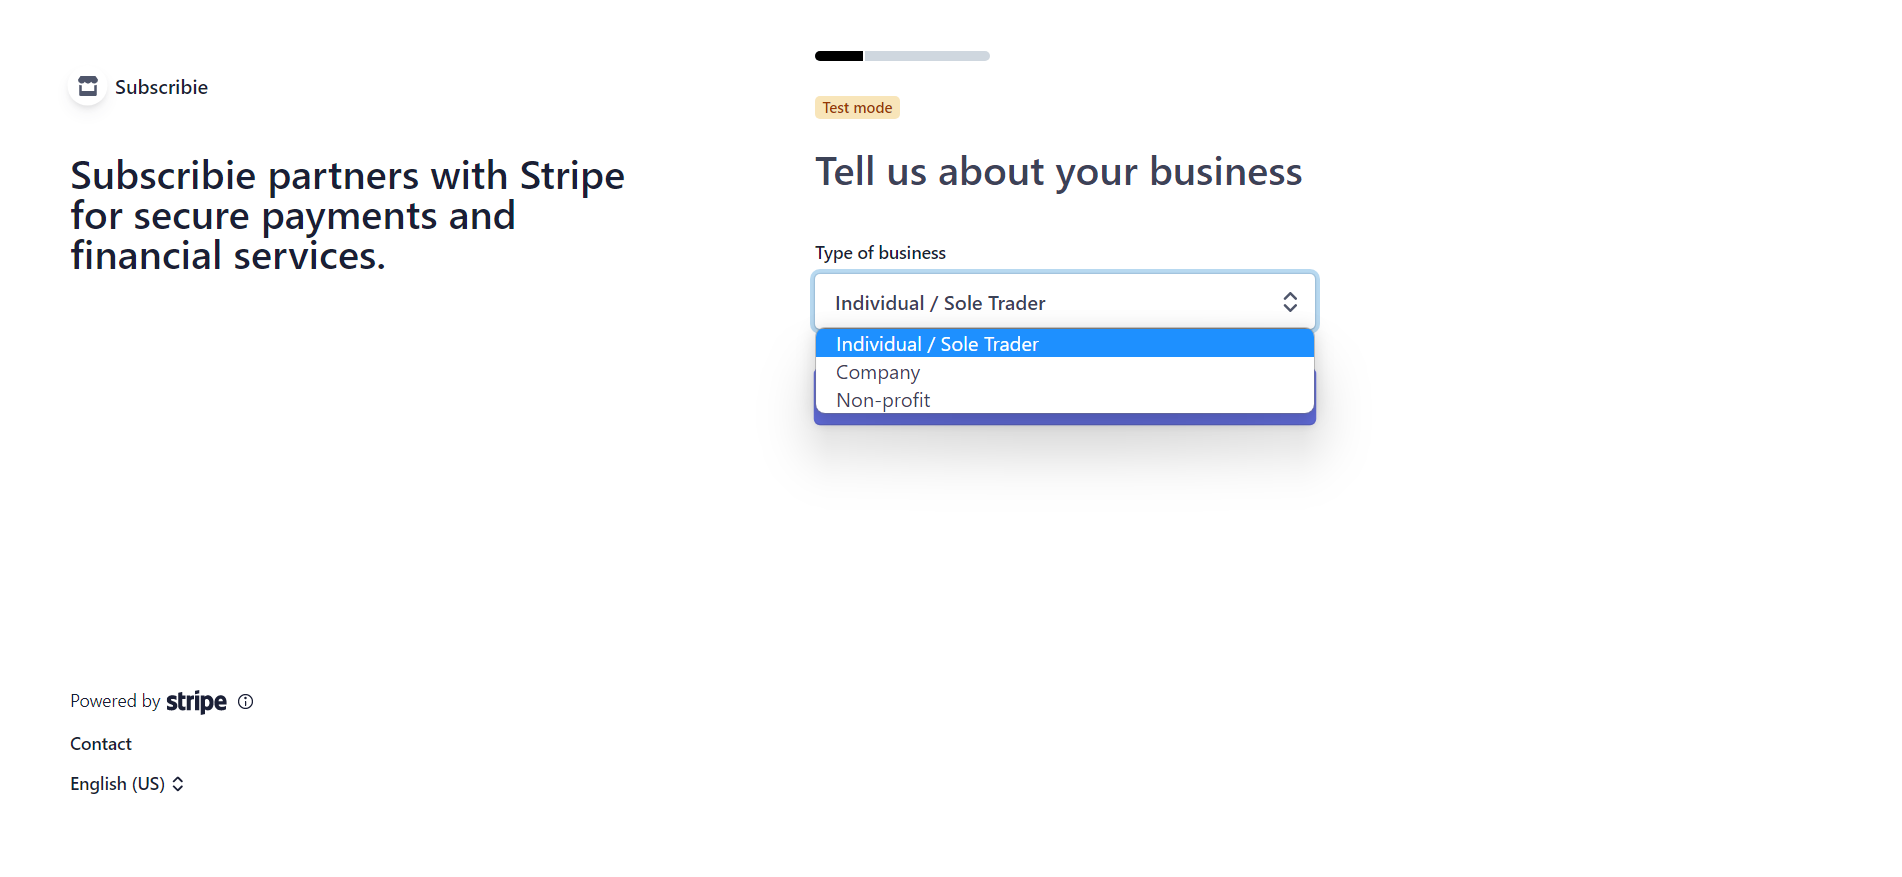
If you are a limited company, private company or partnership, choose "Company" followed by your Business Structure.
For Example - A partnership that is not limited would choose "Company -> Unincorporated Partnership"

If you are a Non-Profit Organization, then choose "Non-profit" followed by your Business Structure.

At any point during this step if you are unsure choose "Other/I'm not sure" or use our LiveChat on Subscribie's Homepage here
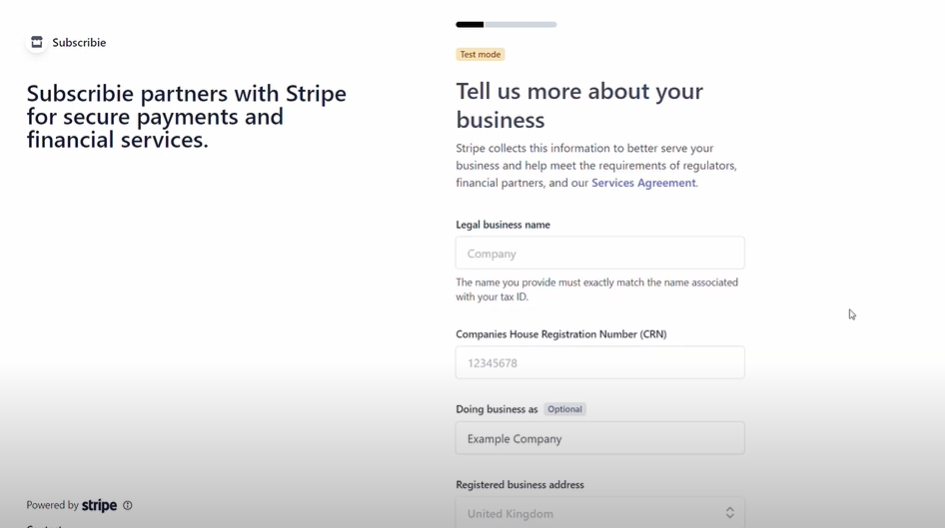
Step 7: Next, fill out the personal details required to set up your Stripe account and select continue.
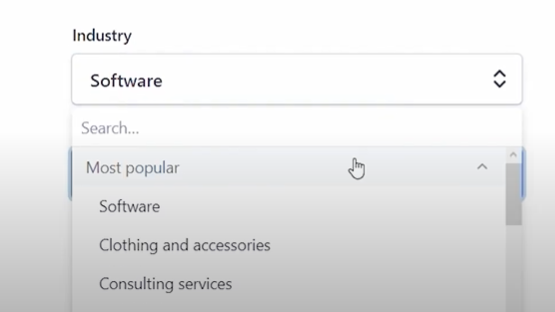
Step 8: Here, select the Industry of your business from the drop-down box, then continue.
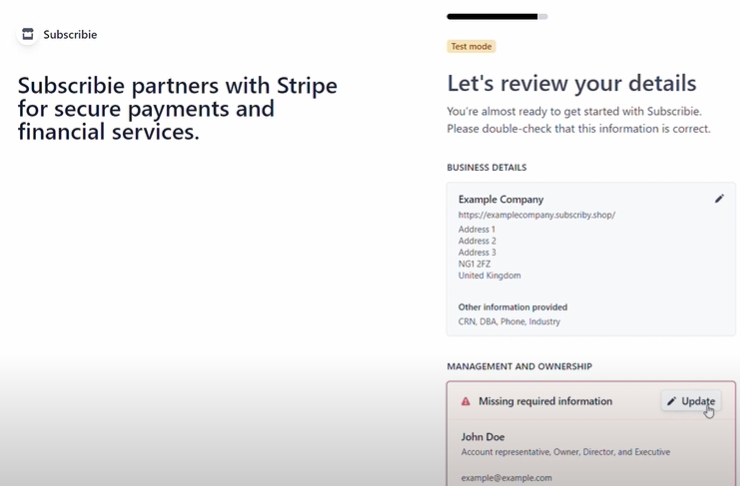
Step 9: Set your currency and fill in the necessary information needed and continue, review the details and additional information you entered and if prompted fill out any information that you might have missed.
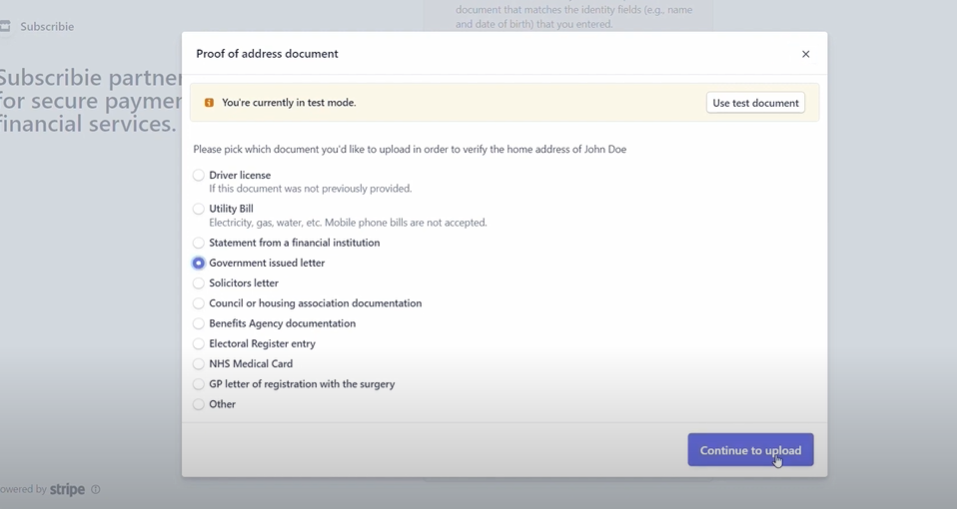
Step 10: Pick the document you would like to submit as your Proof of Address.
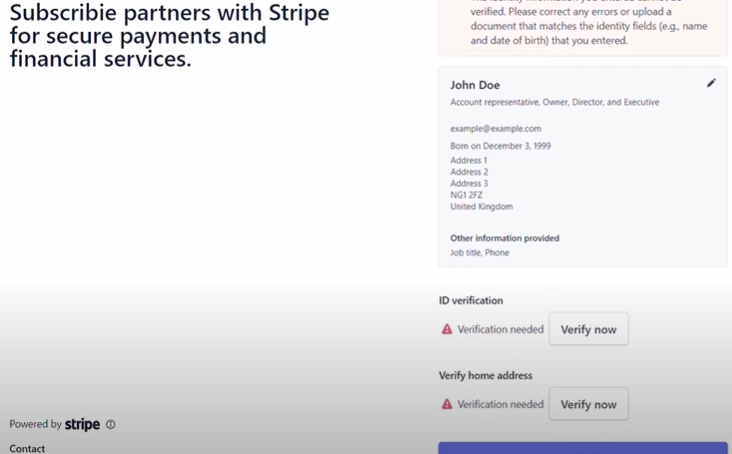
Step 11: Click "Verify Now" and upload the image then click Submit.
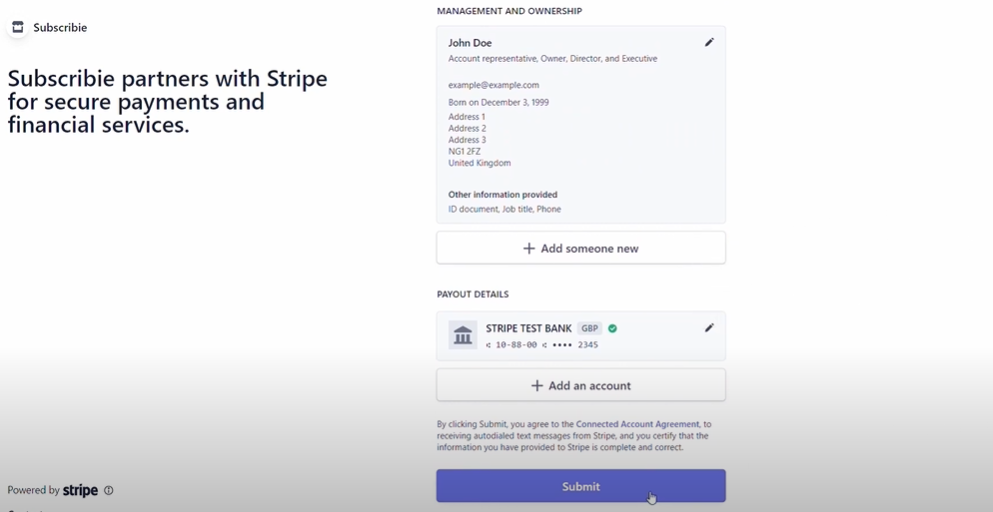
Step 12: Review all the information once more before clicking Submit.
Step 13: After this, you will be redirected to Subscribie. Now, go back to "Review Stripe" and turn Stripe from "Test" to "Live"

Now you can begin using Subscribie!