A Beginners Guide to Create Your Own Subscription Service on Subscribie's Dashboard - Your NoCode Subscription Tool
This is a guide on creating a subscription service for collecting your payments without coding (nocode) with the help of Subscribie - The only Subscription Management Software you'll need.

It's your time to shine with your very own Subscription Service! Create your very own subscription using Subscribie - your NoCode Subscription tool. Try it now at subscribie.co.uk and join the Subscribie family.
Here is your guide/tutorial on how to use Subscribie’s subscription platform to create your own subscriptions for your customers and members. Subscribie is a NoCode platform that helps you collect recurring payments from your customers on a regular basis and removes the hassle of coding a payments system. NoCode is a term used to denote the creation of an application that is accessible to everyone including non-coders. So, feel free to explore Subscibie to your heart's content.
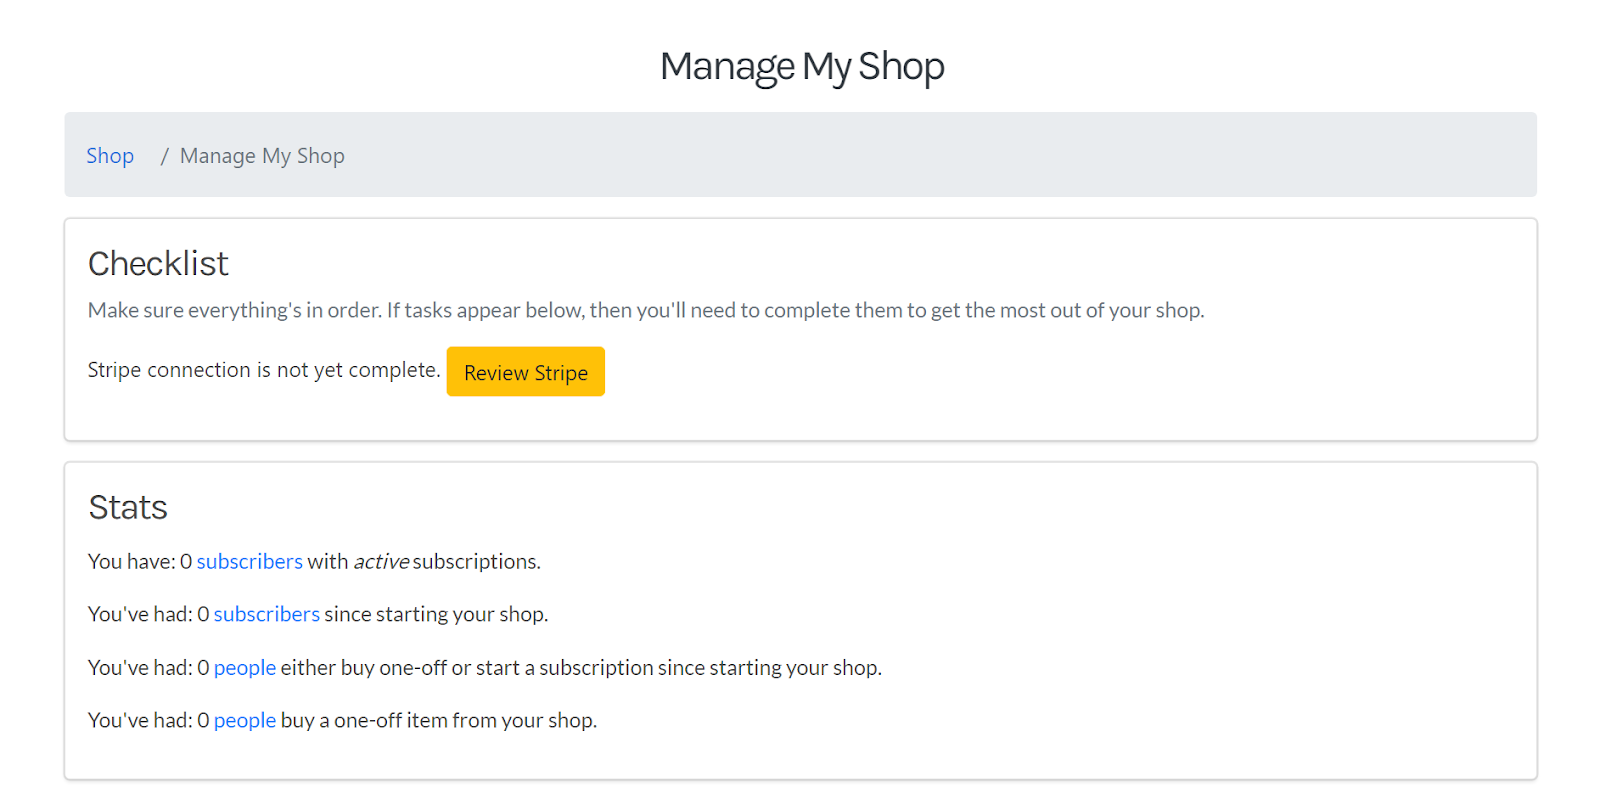
Before we begin explaining the options Subscribie’s Dashboard has to offer, make sure you have completed all the tasks in the checklist at the start of the Dashboard page.
Stats: The stats section shows your real-time subscriber data all in one place.
This section shows -
- The total number of active subscribers
- The total number of subscribers of all time
- The total number of standalone subscriptions and new subscribers combined
- The total number of one-off subscribers
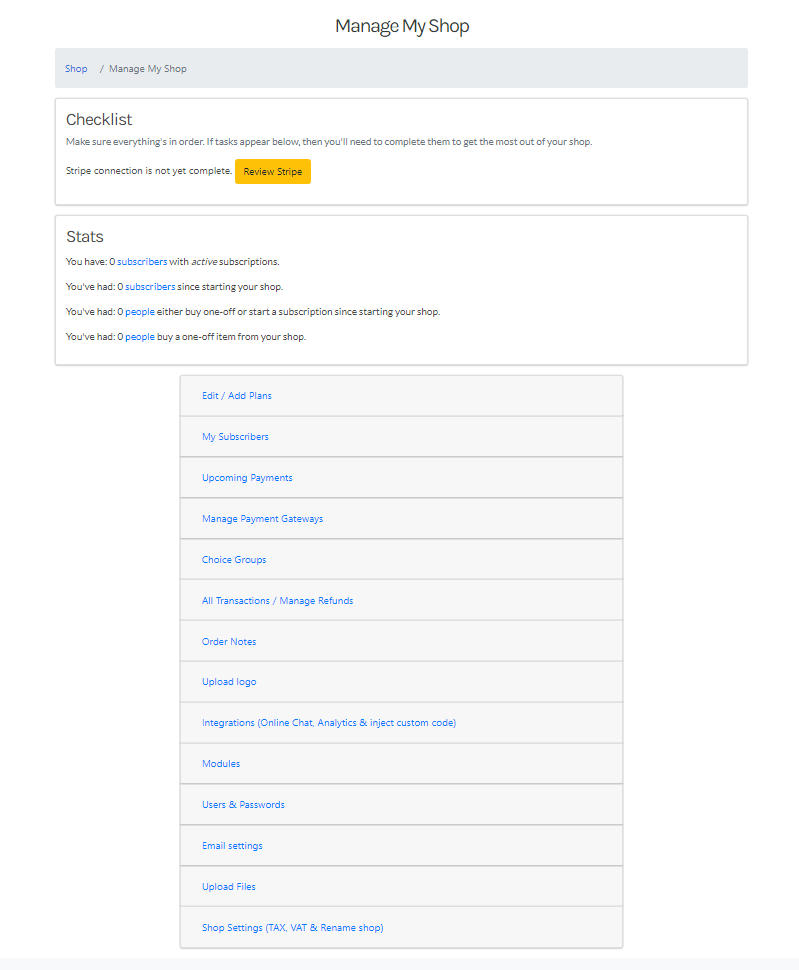
Under “Stats” you will find all your settings and customizations for your Subscribie Subscription page. The Dashboard is split into sections, they are -
- Edit/Add Plans
- My Subscribers
- Upcoming Payments
- Manage Payments Gateways
- Choice Groups
- All transactions/Manage Refunds
- Order Notes
- Upload logo
- Integrations
- Modules
- Users & Passwords
- Email Settings
- Upload Files
- Shop Settings
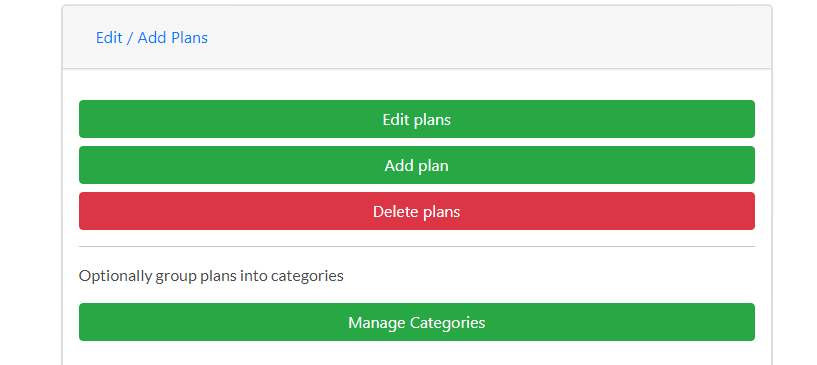
Edit/Add Plans
In this section, you get to
Edit plans - You can change the title, pricing, description, bullet points and image of your plans on this page.
Add plans - You can add details like the title, pricing, description, bullet points and image of your plans on this page.
Delete Plans - Here, you can get rid of unwanted or obsolete plans.
Additionally, you also get to manage your categories. Here, you can add catagories, edit them, add plans in the category to categorise them on the plan page and delete plans.
My Subscribers
Here you can view a list of your subscribiers who have subscribed to your shop.

Upcoming Payments
In this section, you can check out the upcoming payments from your subscribers.
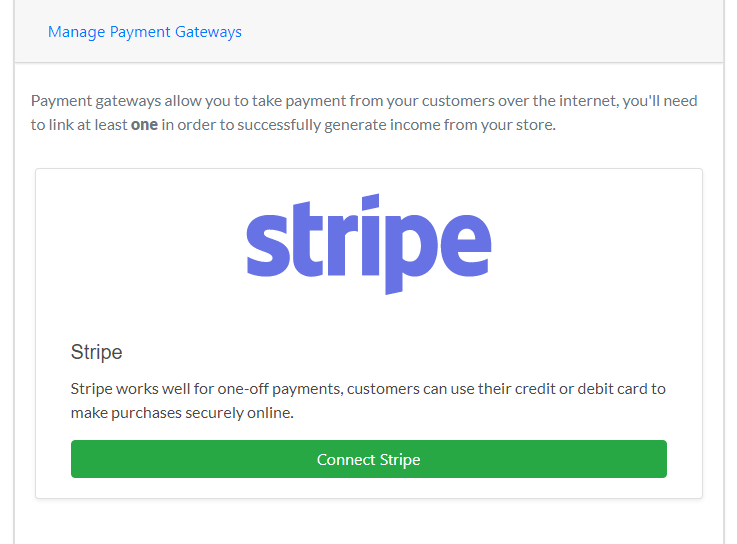
Manage Payment Gateways
Here you can set up your Stripe account to help you to collect your subscription payments from subscribers.
Choice Groups
In choice groups, can create a selection of products for plans. You can also edit the group, assign the group to a plan and change the options for the group or delete the group. Choice Groups are always preset by you and can not affect the price of your subscription plans.
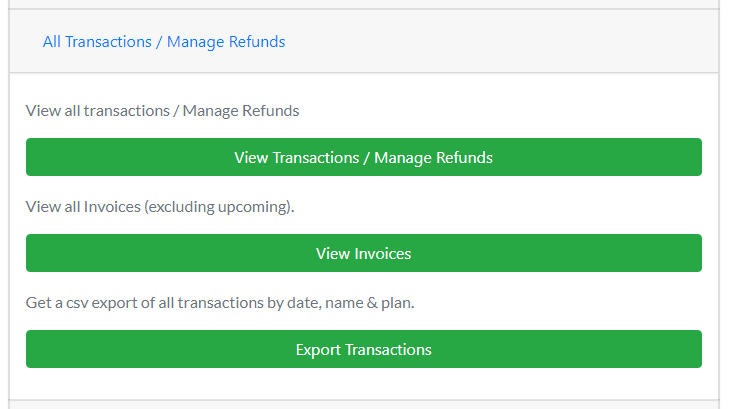
All transactions/Manage Refunds
Here you can view all your transactions and manage your funds as well.
Order Notes
In Order Notes, you can view notes for orders provided by subscribers in their orders. This is useful to know the needs of your subscriber.
Upload Logo
Here, you can upload your logo on the Subscription page to show your subscribers when they view your Subscription page.
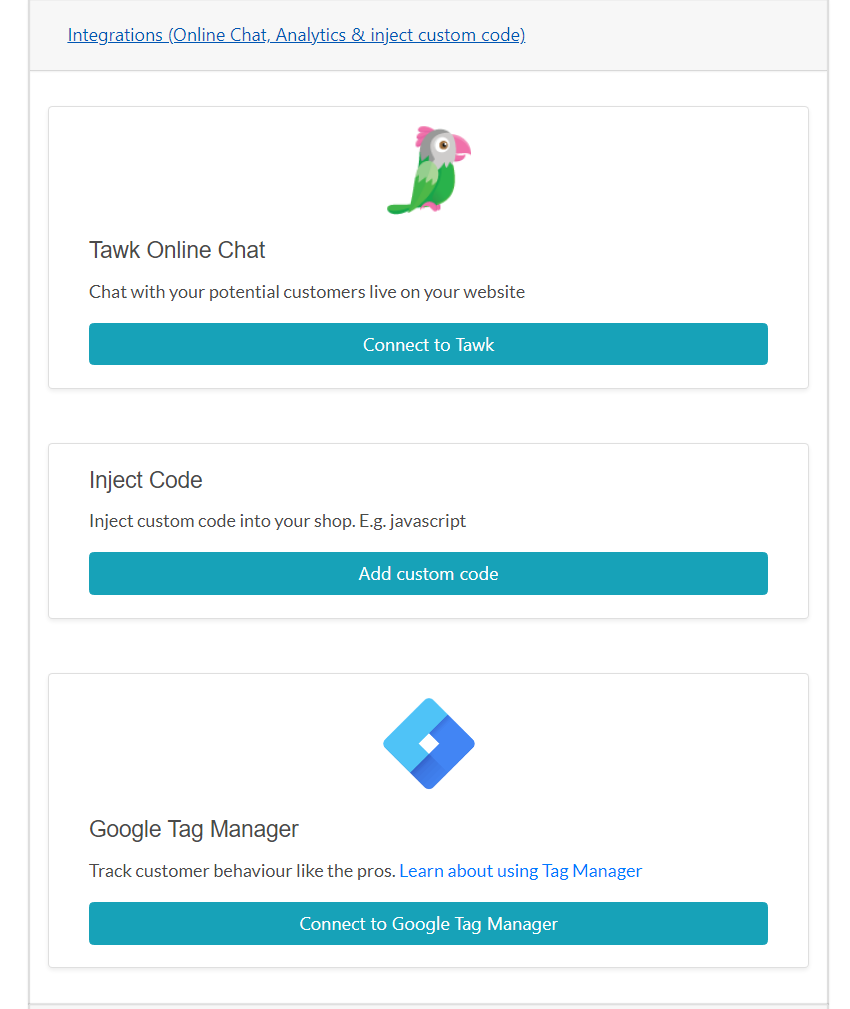
Integrations
In Integrations, you can add your own Tawk Online Chat (Live Chat online with subscribers)
Inject code into your shop to add your own touch to it
And also add a Google Tag Manager to keep up with your subscriber’s behaviour
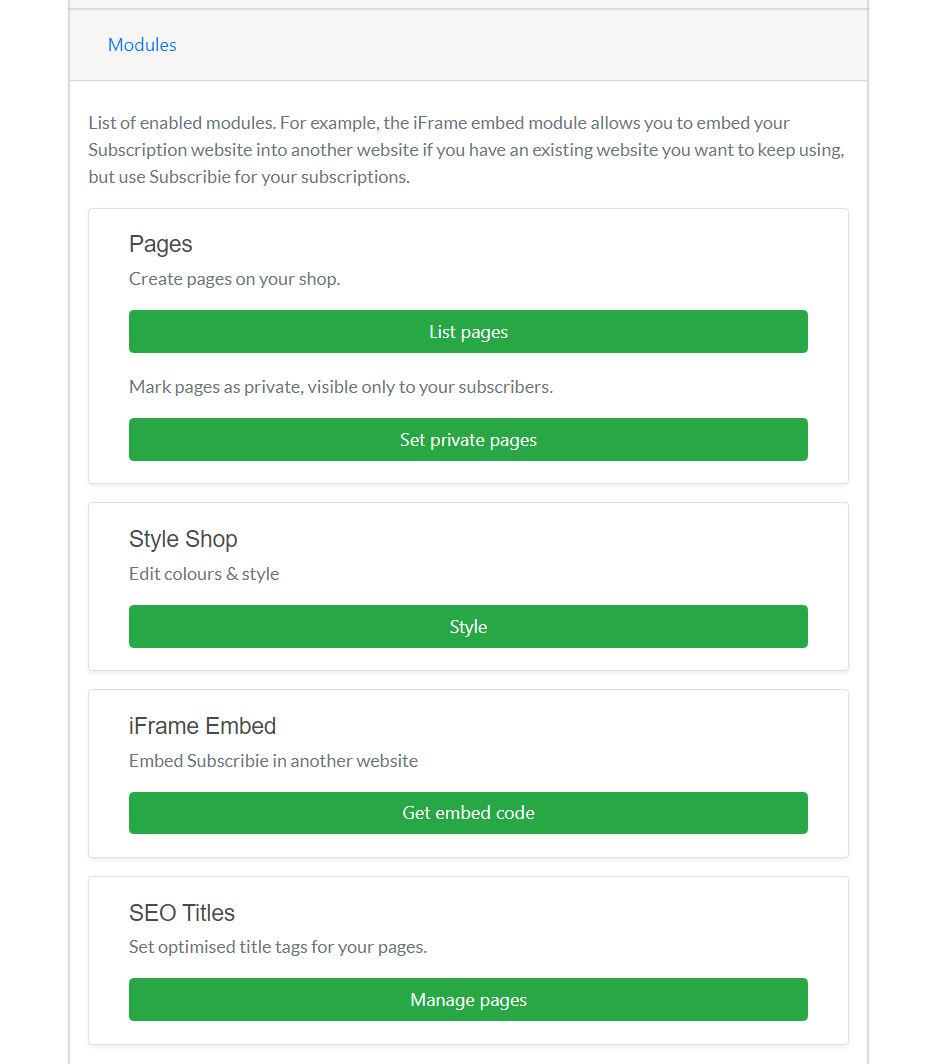
Modules
In this modules section, you can
- Create pages like FAQs, Introductions, etc and also set pages as only viewable for subscribers.
- Customize your shop’s background and text colours (you also can preview your changes in real-time with a live view)
- iFrame, which can be used to embed your shop into your own existing website so that you don't have to rewrite your entire site to accommodate your subscription payments.
- Optimise your SEO tags for your shop pages to improve your ranking in search engines
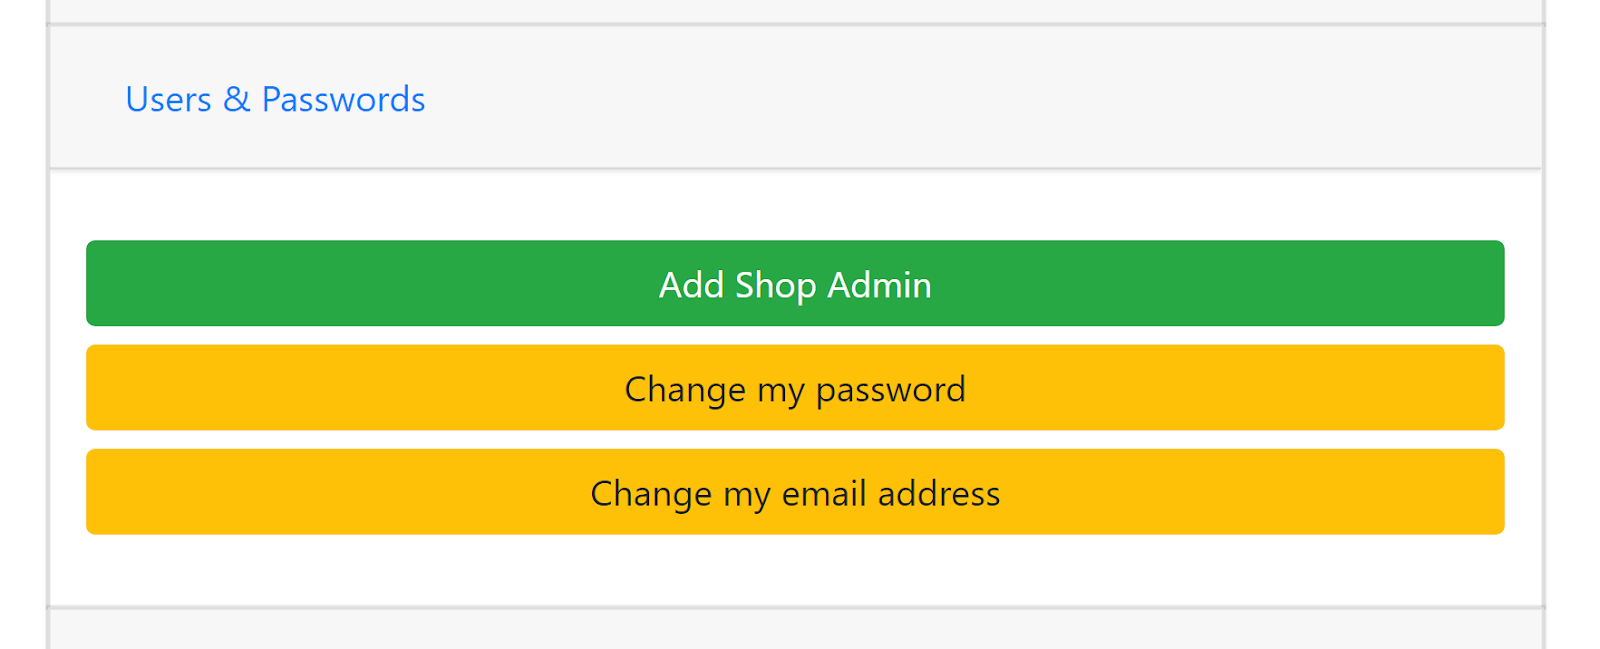
Users & Passwords
Here, you can manage the admins of your shop and you can also change your password or email id linked to your shop if you ever need to.
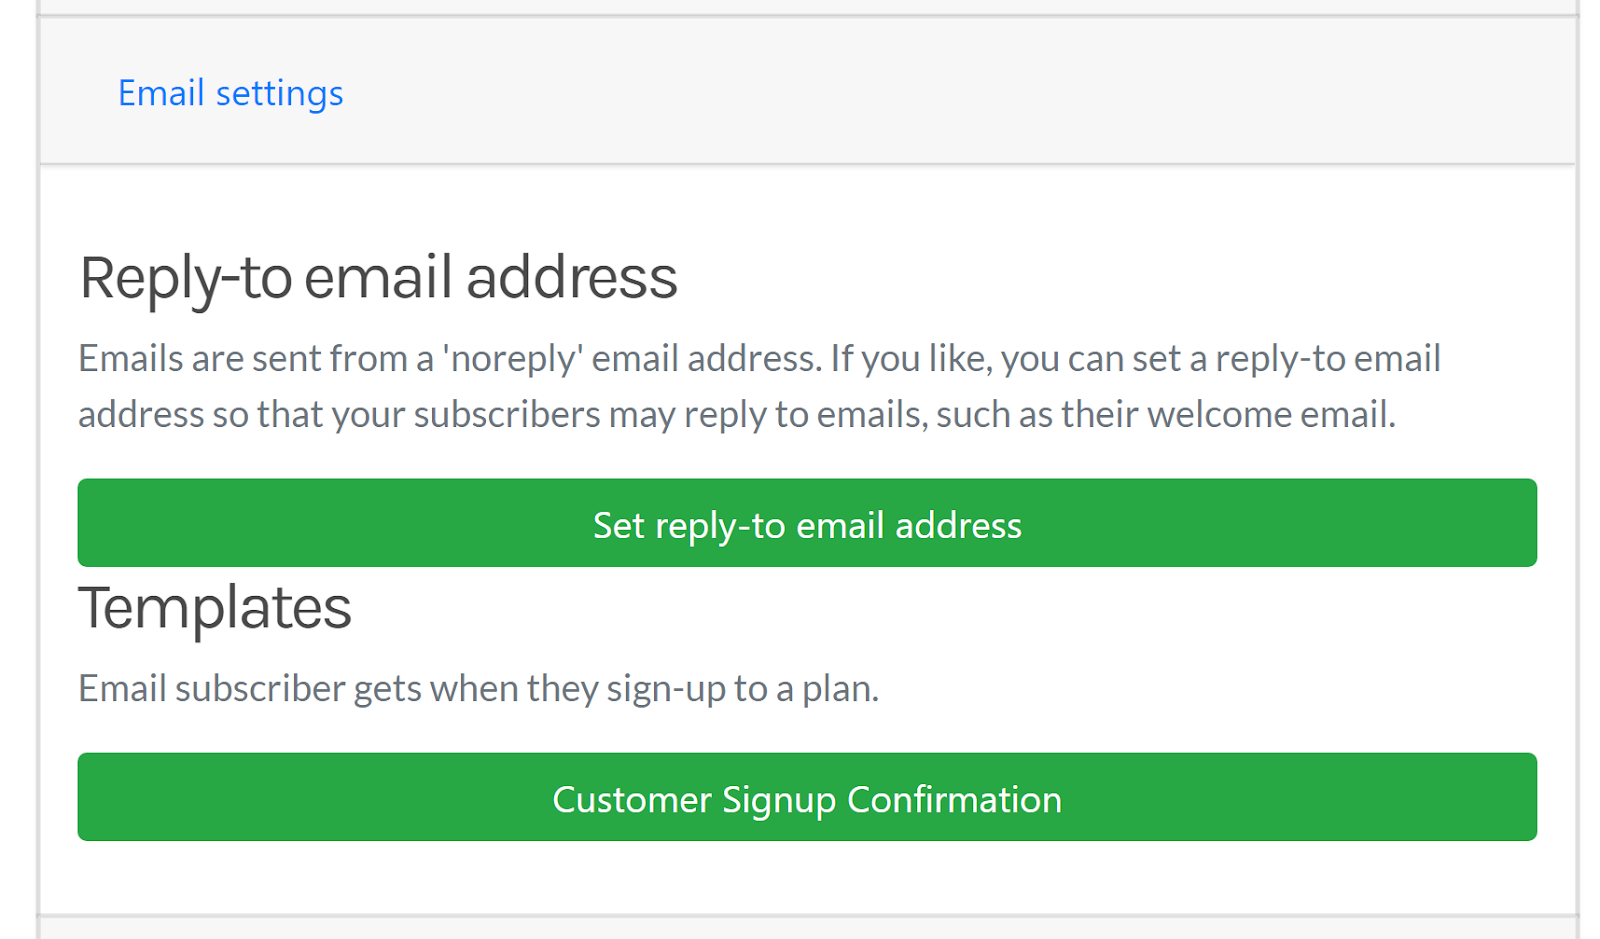
Email settings
In the email section, you can set your own email id if you prefer not to use our default email address to send emails to your customers. By default email notifications are sent from a "noreply" email address. If you want your subscribers to be able to reply to these notification email, you can set a "reply to" email to your own email address. This will make it possible for your Subscribers to reply to email notifications.
Here you can also create an email template to send to new subscribers when they sign up to your subscription.
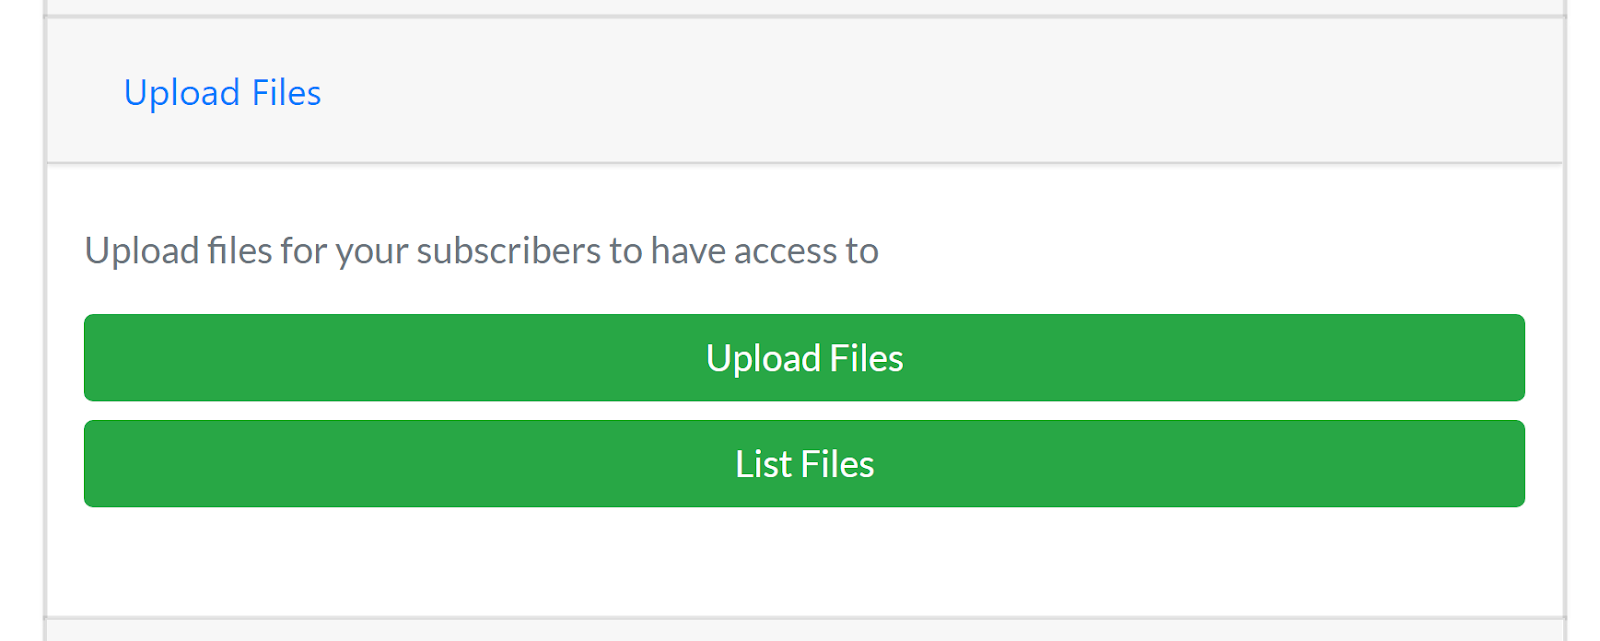
Upload files
In Subscribie, you have the option to upload files that become visible to customers only after they become a subscriber to your shop if needed. So here in the upload files section of the Dashboard, you can upload and manage the files that you upload to your shop.
Shop Settings
Here in the shop settings, you get to
- manage whether or not you wish to charge a VAT of 20% for your subscription
- Change your shop web address if it is available
- Regenerate API keys for your shop

Now it's time for you to begin your adventure into making your very own subscription service for your clients and members!